

Home / Blog Center / Chargers / The Ultimate Guide to Adding LED Strip Lights to Your Mirror
The Ultimate Guide to Adding LED Strip Lights to Your Mirror
26/05/2025 | OtterOasis
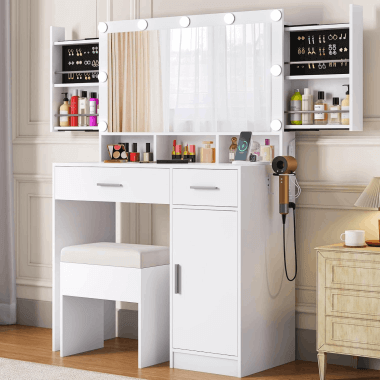
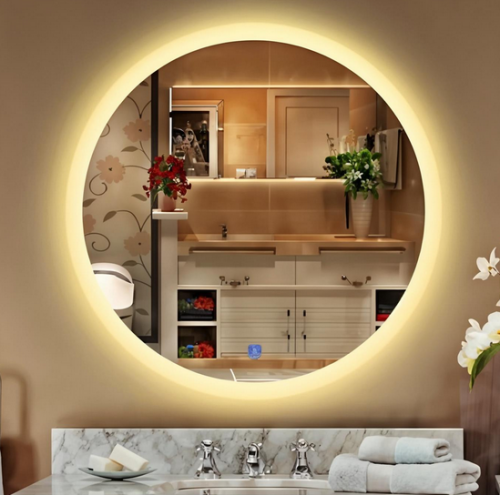
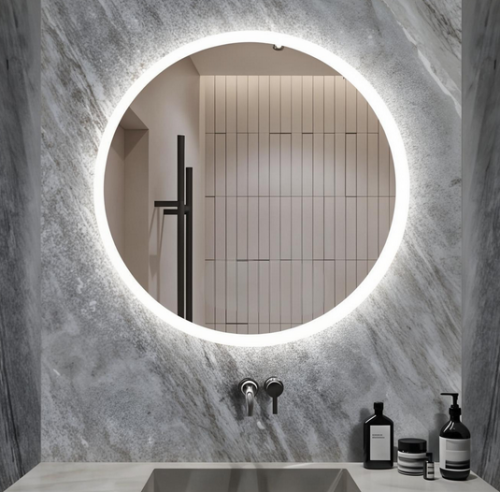
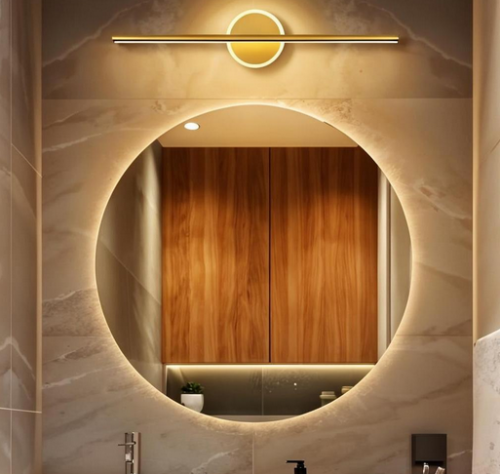
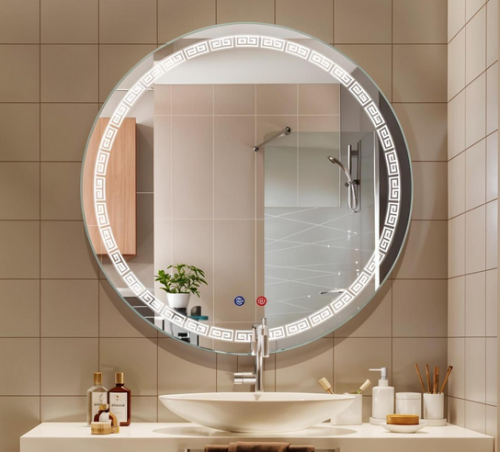
In present day domestic enhancement, mirrors not as it were serve down to earth capacities but can too gotten to be embellishing highlights in a space. With headways in innovation, numerous families have begun to introduce Driven light strips around mirrors to improve lighting impacts and aesthetics. This article will give you with nitty gritty steps on how to introduce Driven light strips on mirrors, making your domestic environment cozier and more a la mode.
How to Install LED Strip Lights on a Mirror: A Step-by-Step Guide:
1. Plan Materials and Instruments
Some time recently getting begun, we got to plan the taking after materials and apparatuses. To begin with, an Driven light strip appropriate for the measure of your reflect is basic; it's suggested to select one with a sticky backing for simple application. Furthermore, you'll require a control connector, as well as scissors, a cleaning cloth, a measuring tape, and a checking write. Guarantee that all materials are total to maintain a strategic distance from stopping the method midway through.
2. Degree the Mirror and Light Strip
Some time recently establishment, precisely degree the measurements of the reflect to decide the specified length of the light strip. Utilize a measuring tape to degree the tallness and width of the reflect and record the estimations. At that point, based on the mirror's measurements, cut the Driven light strip to guarantee it fits impeccably around the reflect. In the event that fundamental, you'll pick to put through extra light strips to guarantee indeed brightness.
3. Clean the Reflect Surface
Some time recently applying the light strip, it is significant to clean the surface of the reflect. Utilize a cleaning cloth with a small cleaning specialist to wipe the mirror surface, expelling tidy and oil. This step is vital since the light strip will follow way better to a clean surface, expanding its lifespan.
4. Apply the Driven Light Strip
Once cleaned, you'll begin applying the Driven light strip. Based on your past estimations, start at one corner of the reflect and stick the strip on, guaranteeing it remains level. Tenderly peel off the defensive film from the light strip, making beyond any doubt to follow it equally along the edges. During application, you'll utilize your fingers to delicately press the light strip to guarantee no discuss bubbles shape and that it follows solidly to the reflect.
5. Interface the Control Source
After applying the light strip, the another step is to put through the control source. Take after the instructions from the chosen light strip's manual to put through one conclusion of the strip to the control connector, guaranteeing a secure association. At that point plug the control connector into a power outlet and check on the off chance that the light strip works properly. Amid this handle, you'll be able attempt altering the brightness to discover the foremost comfortable light setting.
6. Organize and Brighten
Once the light strip establishment is total, you'll tidy up the encompassing region. Check on the off chance that the associations of the light strip are flawless and, in case necessary, use cable clips to secure the wires for tasteful purposes. Moreover, you'll be able include other enriching components agreeing to your individual inclinations, such as stickers or little decorations, to create the whole reflect zone more one of a kind.
In conclusion:by taking after the over steps to effectively introduce Driven light strips on your reflect, you may accomplish a enriching impact that's both commonsense and modern. Whether you're applying cosmetics within the morning or unwinding at night, the delicate lighting can include warmth and comfort to your life. Appreciate this straightforward however excellent DIY prepare!
